Free shipping over $100 CAD across CanadaShop now

Our Vanilla

How our Vanilla beans are prepared?

Have you ever wondered where those delicious fragrant Vanilla beans come from?

There are many challenges in the process of getting real Vanilla beans to you. These challenges include plant diseases, natural disasters, thieves and climate change, that will affect the crop growth and the farmers' future.

Let us give you an idea on how our farmers prepare it.

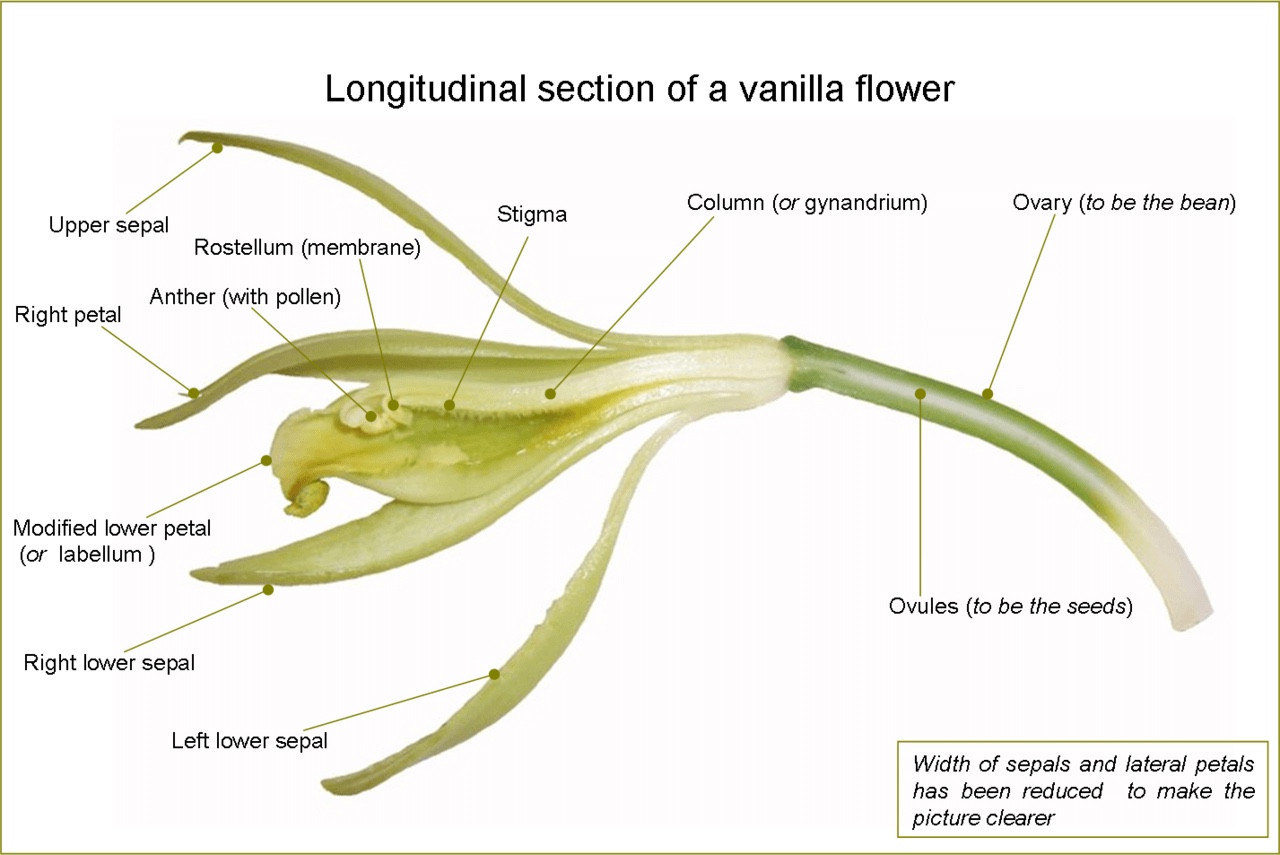
  1. Longitudinal section of a vanilla flower with each anatomical part labelled
    01

    The vanilla flower

    Vanilla is the seed pod of an orchid — the only orchid grown for food. A longitudinal section shows the flower's parts: the sepals and petals, the modified lower petal (labellum), the anther holding pollen, the stigma, the column (gynandrium), and the ovary that grows into the bean as the ovules ripen into the seeds inside.
  2. Young vanilla vine with green pods, anchored to a living-tree support
    02

    Propagation

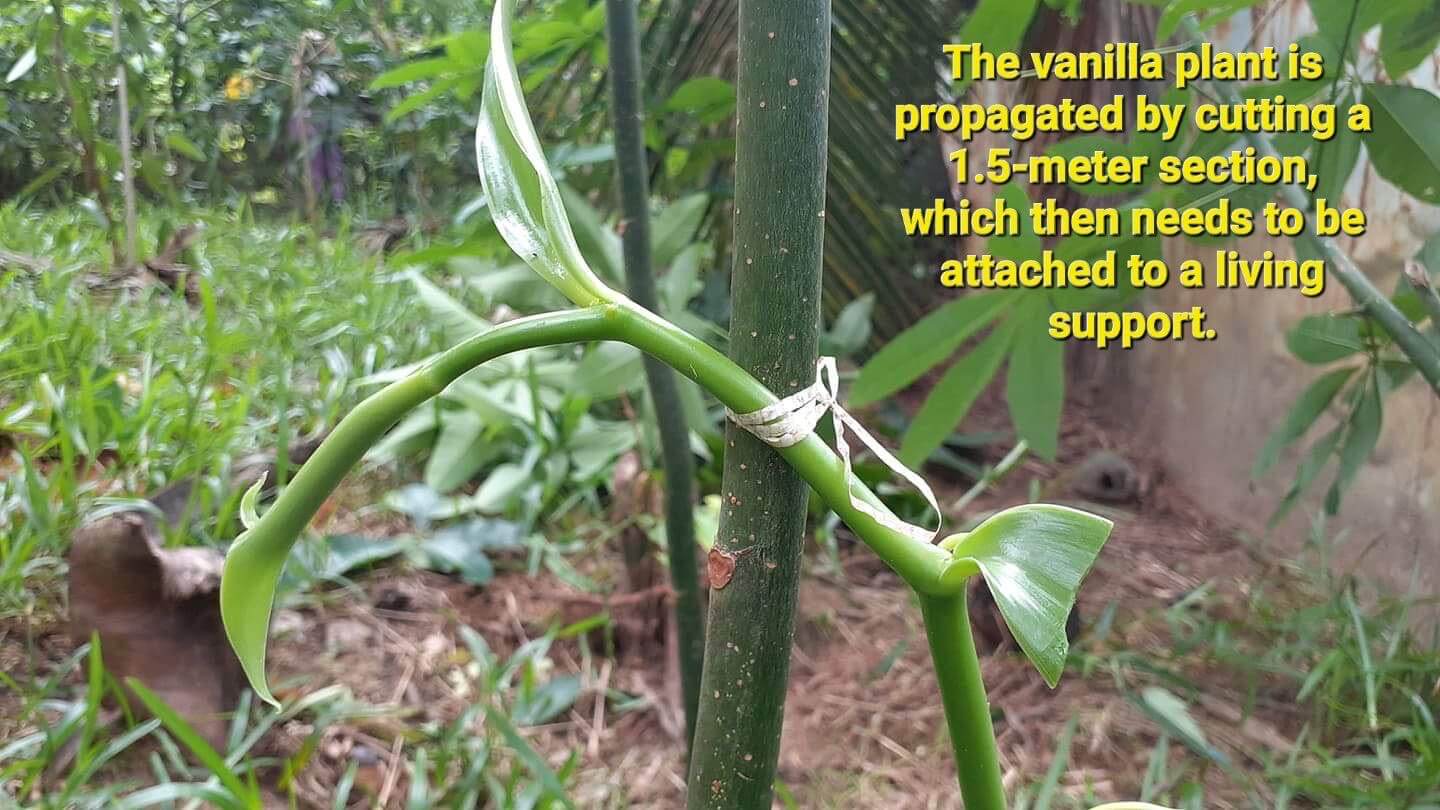
    The vanilla plant is propagated by cutting a 1.5-meter section, which then needs to be attached to a living support.

  3. Rows of vanilla vines on living supports under the canopy at Josie's farm
    03

    The farm

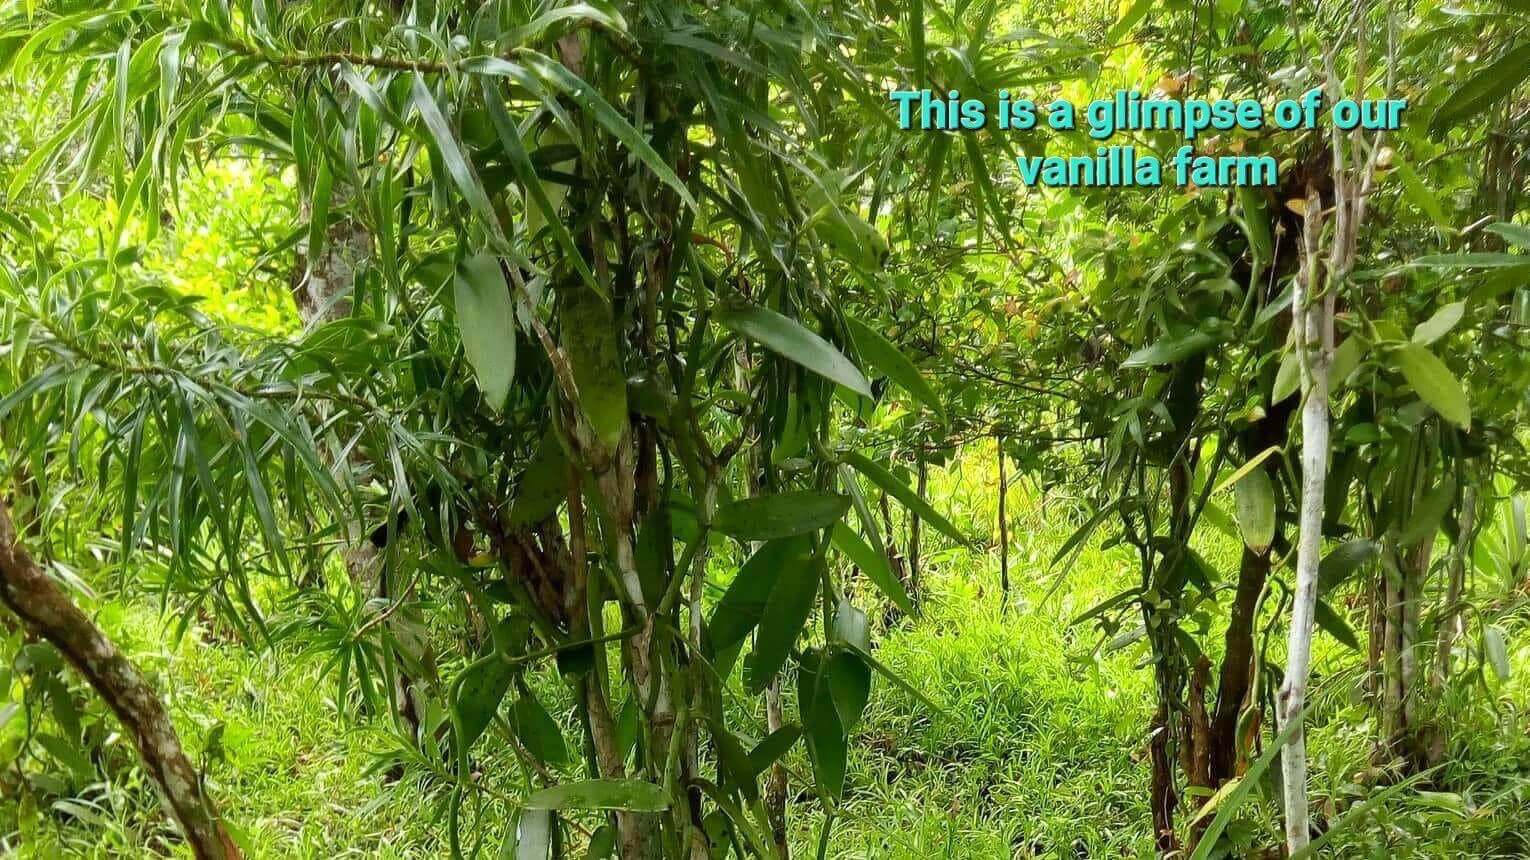
    This is a glimpse of our vanilla farm.

  4. Farmer gathering young vanilla pods from a vine on the farm
    04

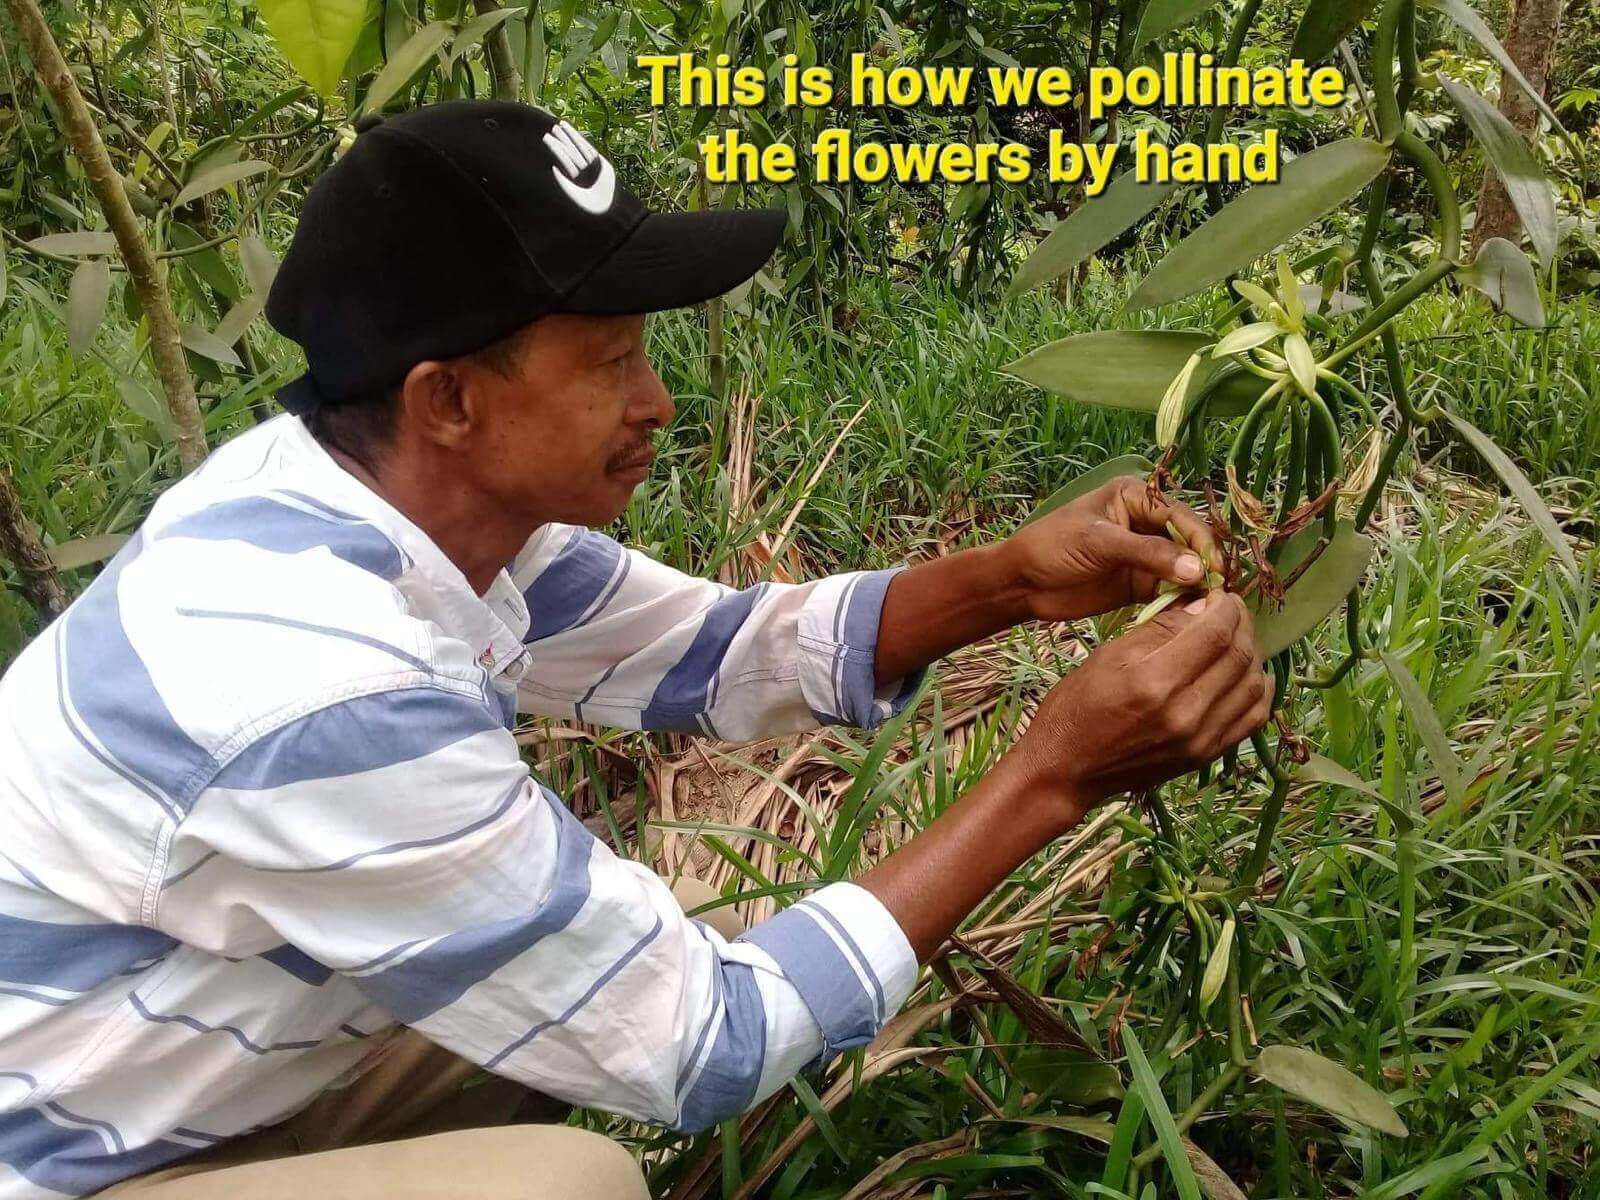
    Hand-pollination

    This is how we pollinate the flowers by hand.

  5. Farmer tending young green vanilla pods days after hand pollination
    05

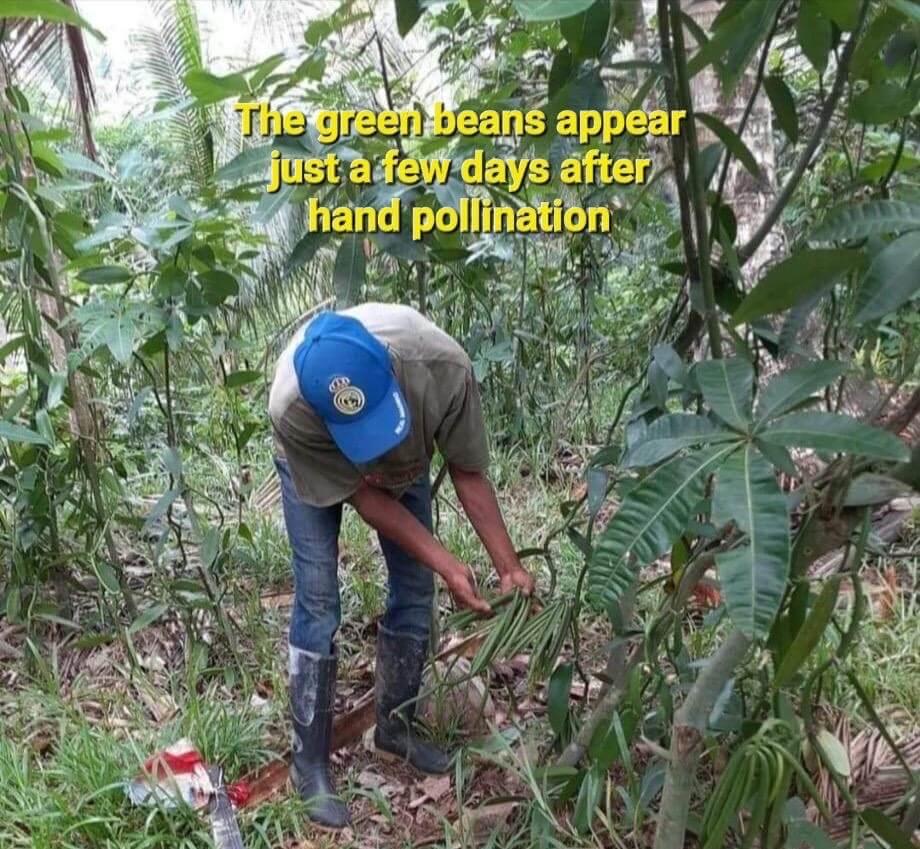
    Green beans appear

    The green beans appear just a few days after hand pollination.

  6. Hands placing fresh green vanilla pods into a woven basket at harvest
    06

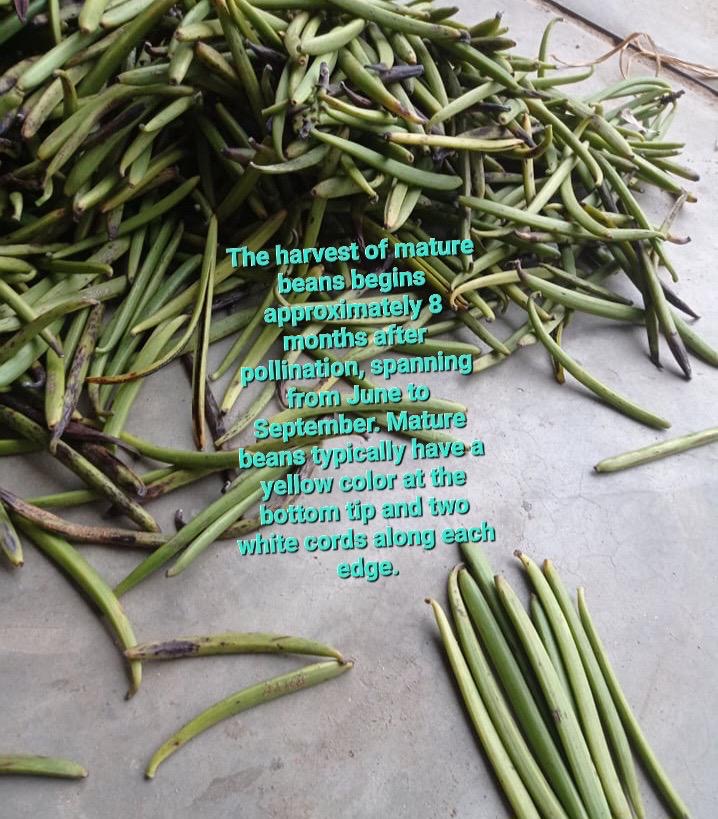
    Mature harvest

    The harvest of mature beans begins approximately 8 months after pollination, spanning from June to September. Mature beans typically have a yellow color at the bottom tip and two white cords along each edge.

  7. Workers in yellow lowering a basket of green vanilla beans into a steaming vat for the échaudage stage
    07

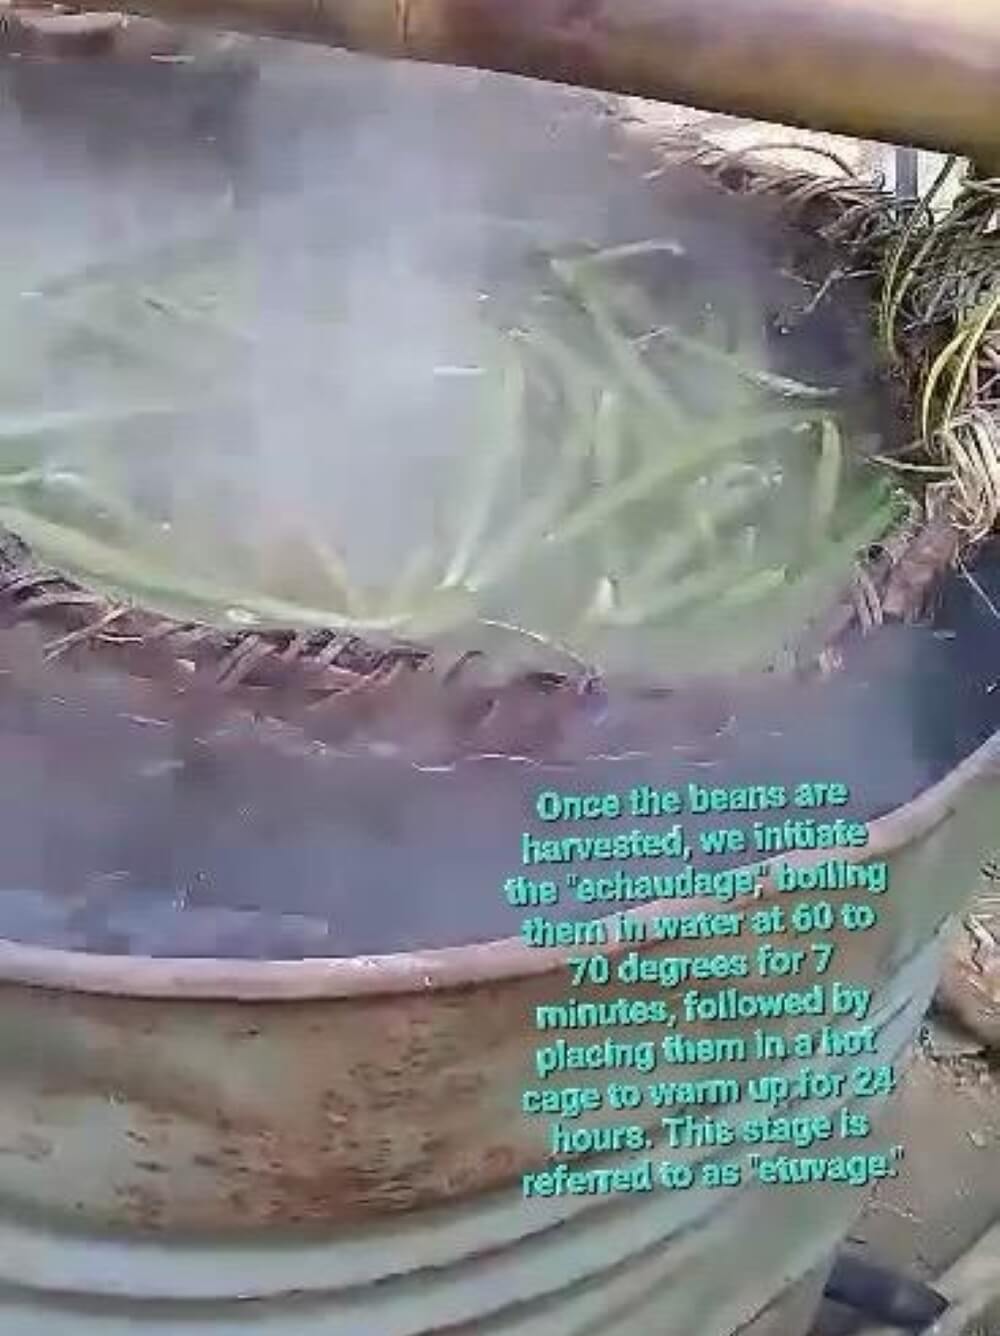
    Échaudage — the scalding

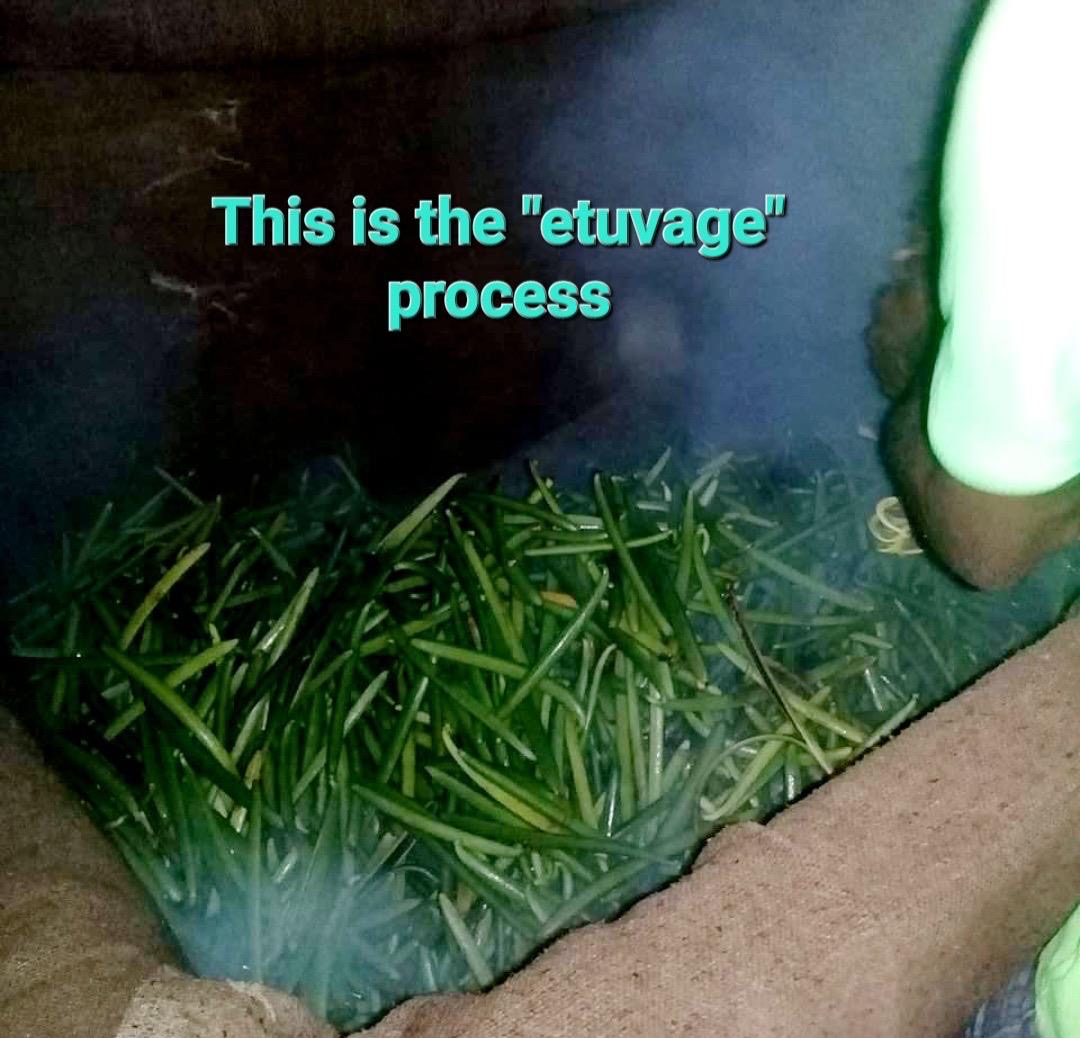
    Once the beans are harvested, we initiate the “échaudage,” boiling them in water at 60 to 70 degrees for 7 minutes, followed by placing them in a hot cage to warm up for 24 hours. This stage is referred to as “étuvage.”

  8. Beans piled in a smoky cloth-lined cage during the étuvage sweating stage
    08

    Étuvage — the sweating

    This is the “étuvage” process.

  9. Dark vanilla beans spread on mats drying in the sun
    09

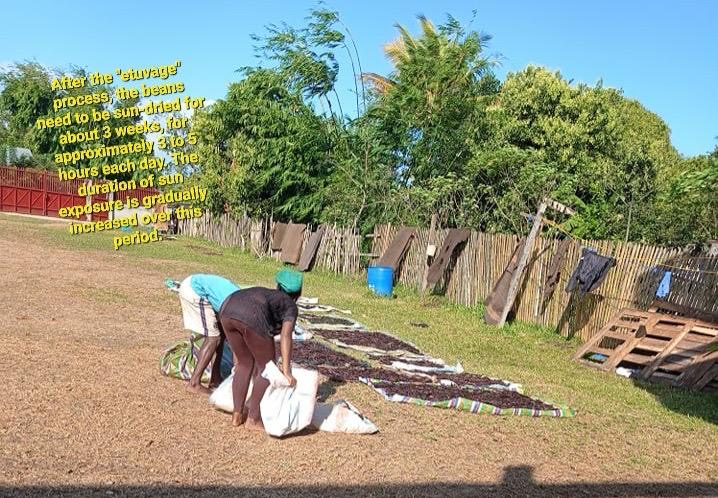
    Sun-drying

    After the “étuvage” process, the beans need to be sun-dried for about 3 weeks, for approximately 3 to 5 hours each day. The duration of sun exposure is gradually increased over this period.

  10. Farmer inspecting a handful of cured, glossy mahogany vanilla pods
    10

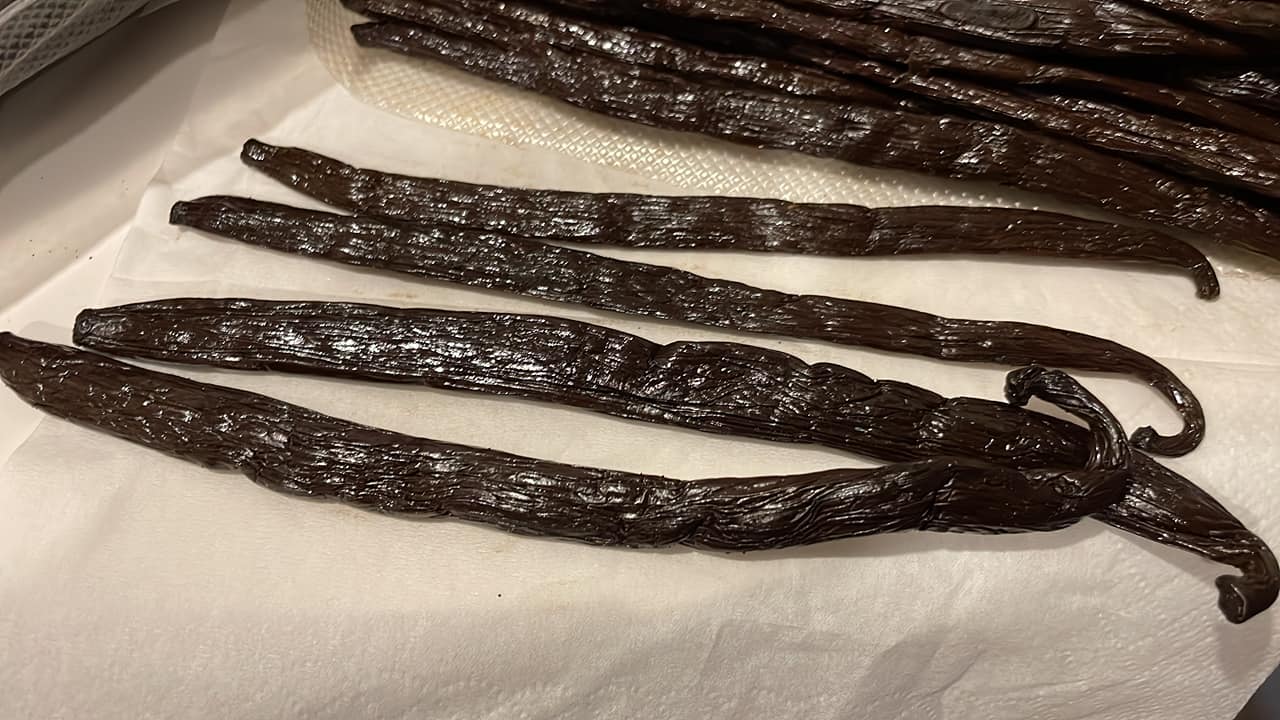
    The cured pod

    After three weeks in the sun, the pods turn the deep mahogany you recognise — glossy, supple, heavy with oil.

  11. Finished cured vanilla pods bundled with raffia ties, ready to ship
    11

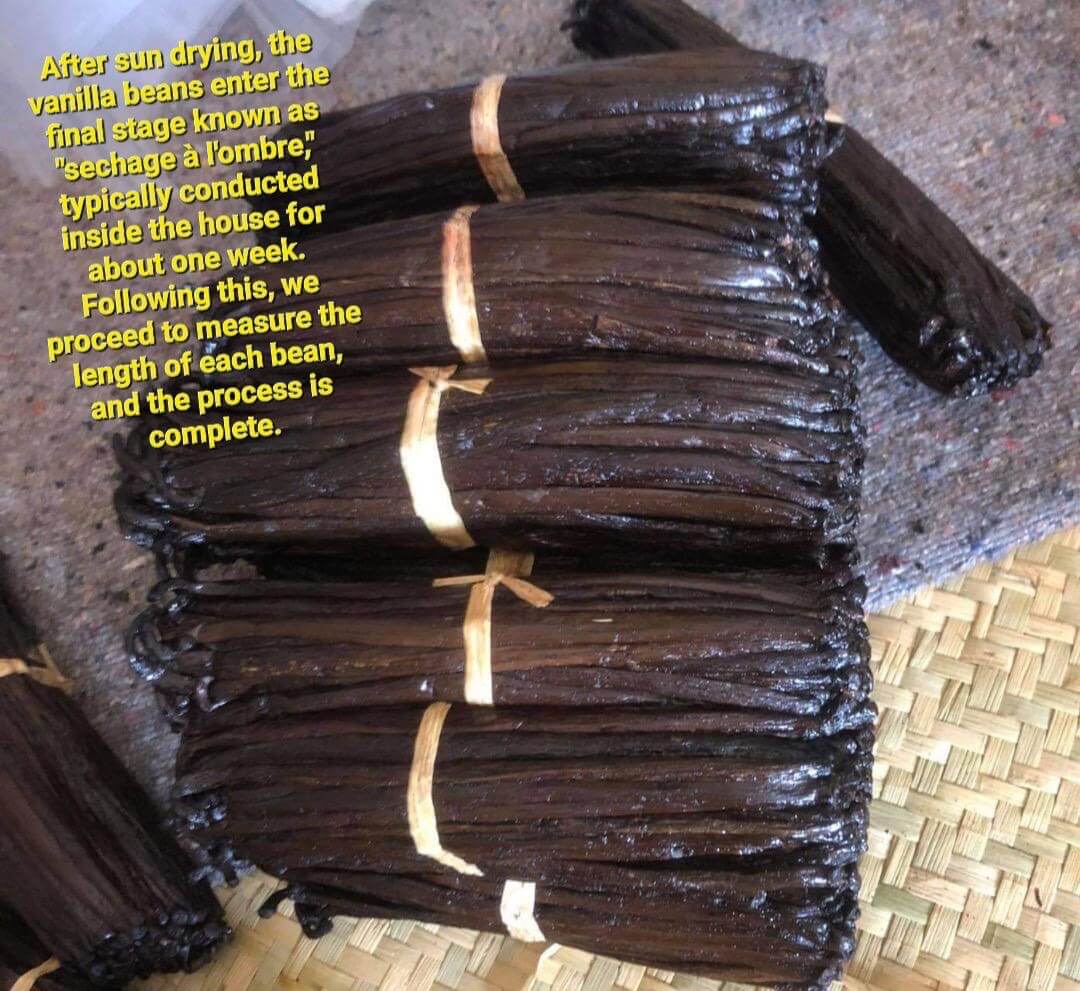
    Séchage à l'ombre — the finishing

    After sun drying, the vanilla beans enter the final stage known as “séchage à l'ombre,” typically conducted inside the house for about one week. Following this, we proceed to measure the length of each bean, and the process is complete.